Post by Steve King (Admin) on Sept 13, 2009 16:18:51 GMT -6
STAIN COLORS: Natural and Red Oak
PROTECTANT: Gloss Polyurethane
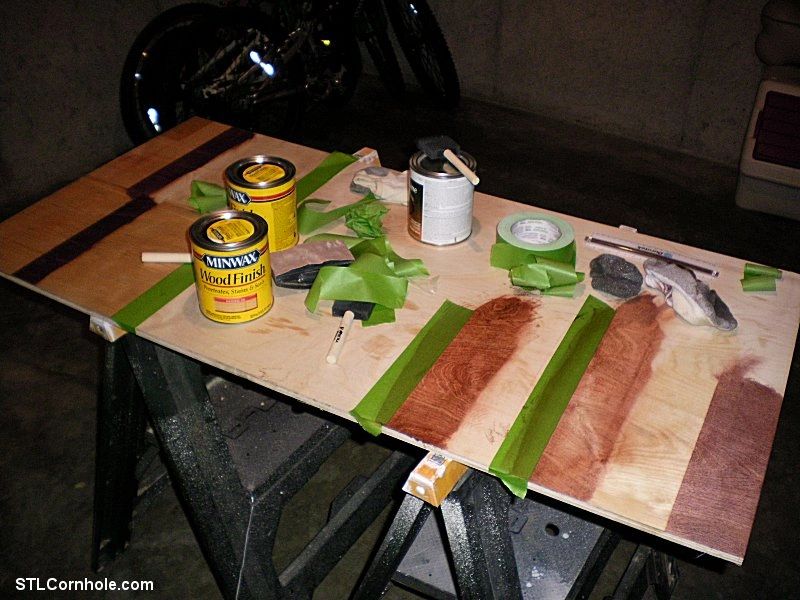
This post is to aid those in staining a triangle (pyramid) on a set of cornhole boards. I decided that I wanted to make this new product and heard of the challenges staining before I even started. The 2 big challenges were if staining a light colored triangle and an outer darker area of the board, the line would need to be crisp. Unfortunately, stain tends to bleed. So, with that said, I practiced on a 1/2" piece of sanded birch before I started on my set of boards.

After a few hours testing, I finally figured out how to get a crisp line. What I did was take some 0000 steel wool and close the pores of the wood where the line would be. I sanded it extremely smooth. Then, I took some Frog Tape, which is basically a treated blue painters tape but green, and laid it where I would stain the dark side first. Most folks would questions this, as I did before testing, but it makes sense after I explain it. If you lay the tape of the sanded wood and stain the dark side first you get an excellent seal. Make sure you set the tape by using a credit card or flat edge so there it is flush with the wood. Go over it again and again to make a great seal. If you did the opposite, light side first, the problem that you would run into is after you stained the light side and taped over it to stain the dark side, then frog tape would not provide a A+ seal on the natural color oil bases stain, providing an avenue for the dark stain to seap under it no matter how much you scrapped the tape with a credit card or sanded the board.
So, stain the dark side first!

After you've conquered the staining a line technique, the next challenge will present itself. You will want to coat your cornhole boards with a gloss polyurethane protectant with a foam brush, doing so with about 3 coats. Allow 6 hours to dry in between coats. You will most likely encounter brush streaks. So, what you will need to do is sand in between coats. Don't ever use less than 220 grit. Use that for an extreme brush streaks, but if you only have minor brush streaks, then use 320 grit. Use 400 grit on your final coat. As you will see in the pictures below, it will make your boards look like a dusty mess, but don't worry, that will all disappear in the final step.


The final step is to wipe your boards down well with a damp cloth to remove the dust. After they dry, you will cheat and use an aeresol gloss polyurethane. You will use an entire can over the tops of both boards, allowing time to dry in between sprays. It drys pretty fast with the aeresol, so this can all be accomplished within about 1 hour. Once dry, they are what I consider a piece of art!


